Ever scrolled through your feed and brought up short by an AI avatar that waves, moves, and looks so so real you thought you were looking at a human being? You’re not alone. The AI universe is hurtling along at warp speed, and animating digital characters is no longer the domain of the studios. But what if I said that you could make it happen yourself and achieve this amazing realism? Here at Minava.org, we’re going to show you a stunning process. You’re about to see a free speaking avatar creator process that employs some powerful applications to produce output that‘s nearly too realistic.
From a new trend in AI that is taking the world by storm, this guide will teach you the exact steps to design your own personalized custom AI avatar. You don’t need a computer with a big price tag or expensive software. You simply need three free AI tools and a bit of imagination. Let’s begin!
Your 3-Step Formula: How to Make an AI Avatar Talk
The trick here is to break the process into three manageable steps. Instead of relying on one, and typically restricted, tool, we’re going to use the best free tool for each specific task: image generation, video animation, and finally, lip-syncing. This way, you‘ll get optimal control and quality without paying a cent.
Step 1: Crafting Your Avatar’s Image with Grok
First things first, your avatar needs a face. We’re not just grabbing any stock photo; we’re creating a completely unique character from scratch using a text prompt. This is where Grok comes in.
Grok.com is an AI model that functions similarly to ChatGPT but has a knack for generating incredible images from simple descriptions. Think of it as your personal digital artist.
- Go to Grok.com.
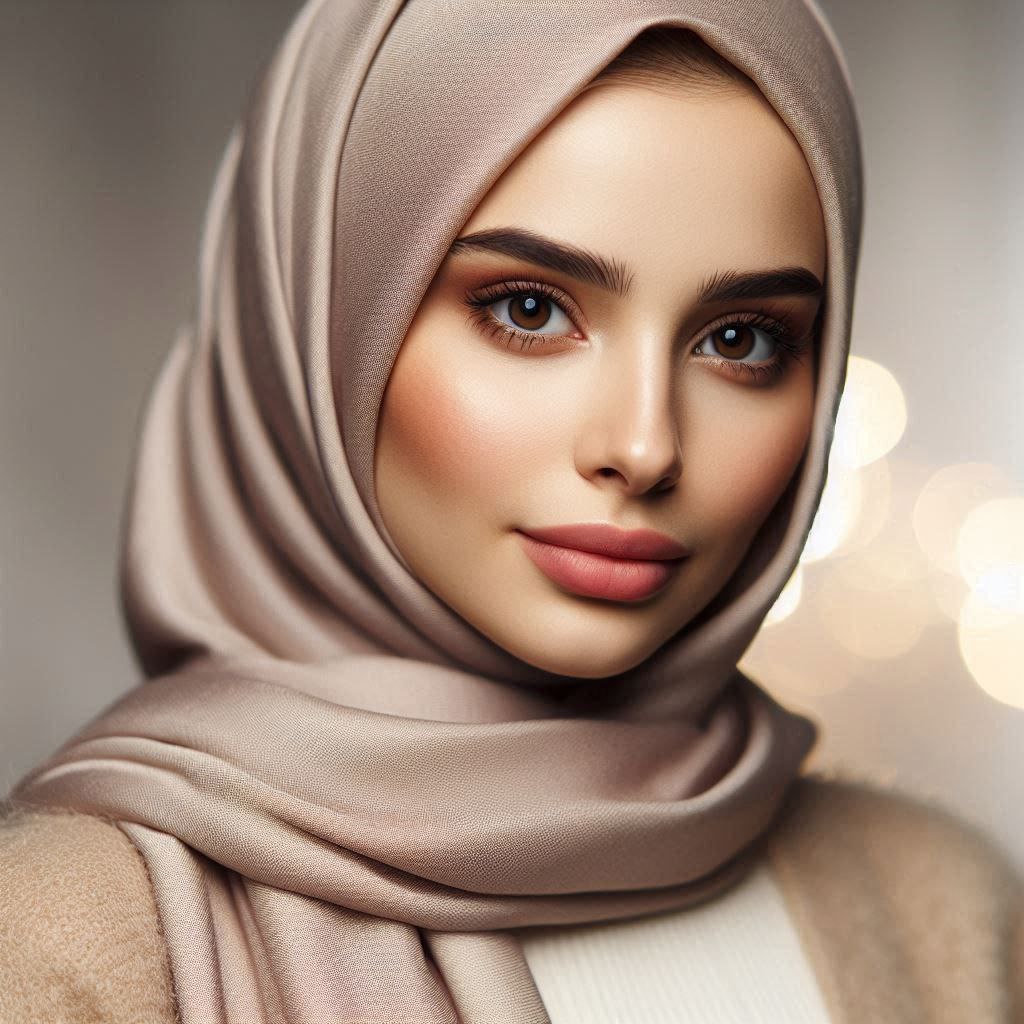
- In the prompt box, describe the avatar you envision. Be specific! For example, you could type: “Create a photorealistic image of a 20-year-old female with long, wavy blonde hair, blue eyes, and a friendly smile, wearing a simple black t-shirt against a plain grey background.”
- Grok will generate the image. If you like it, simply click the download button to save it to your device. Voilà! You have your avatar’s base image.
The quality of your final product heavily depends on this first step, so don’t be afraid to tweak your prompt until you get an image you love. Now, let’s make it move.
Animating Your Character: The Path to a Lifelike AI
Now that you have a static image, it’s time to add natural movement. This is a crucial step to avoid the “creepy” or robotic look that many other avatar creators produce. This is where we learn how to make an AI avatar talk by first making it *move*.
Step 2: Breathing Life into Your Image with Dreamina
Our second app in use is Dreamina, which is a powerful video-creation tool developed by the creators of CapCut. It is able to convert a static image and text prompt into a short animated video clip. There’s one very important trick working here, though.
Heads up: You will most likely need to access via a VPN in order to access Dreamina’s video generation features as they may not be supported globally. If the video box is not showing up, enable your VPN and try generating again.
Go to the Dreamina website.
Click “Generate” and import the avatar image you just created with Grok.
In the prompt box, write down the movement you want. Something like “A woman smiling and blinking slightly with head movements” is okay.
Modify the duration (5 seconds as a starting point works).
Hit “Generate” and let the AI work its magic!
You’ll now have a short video of your avatar moving naturally but still silent. This silent clip is the secret ingredient for the final step. For more advanced video editing tips, you might want to check out our guide on the CapCut AI Video Maker.
Step 3: The Final Touch with a Free Talking Avatar Creator App
This is where it all comes together. We’ll take our animated video and add a voice using a fantastic mobile app that acts as our final free talking avatar creator.
Download the app called Dream Face from the Google Play Store or Apple App Store. Once inside:
- Open the app and select the “Video Lip Sync” feature.
- Tap the “Avatar” button and upload the animated video clip you just made in Dreamina.
- Now, add your audio. You have three choices:
- Type: Write out your script and choose an AI voice.
- Record: Record the audio in your own voice.
- Import: Upload a pre-recorded audio file.
- Once your audio is set, press “Animate.” The app will perfectly sync the lip movements in your video to the audio track.
- Download your final, fully-realized talking avatar!
This process is a fantastic example of how combining several free AI tools for daily life can produce professional-grade results. You can even use this technique to create AI story animations for social media.
Let’s Recap: Your Quick Guide
Feeling overwhelmed? Don’t be! It’s simpler than it sounds. Here’s the entire process in a nutshell:
- Tool 1 (Grok): Generate a unique, photorealistic avatar image with a text prompt.
- Tool 2 (Dreamina): Animate your static image into a short, moving (but silent) video clip. Remember the VPN!
- Tool 3 (Dream Face): Use the Video Lip Sync feature to add your voice or an AI voice to the animated clip.
And that’s it! You’ve successfully used a powerful, multi-step free talking avatar creator workflow. The rise of accessible AI tools, as noted by tech experts at platforms like The Verge, is putting creative power in everyone’s hands.
So, what are you waiting for? This is your chance to stand out on social media, create a unique digital assistant, or just have fun experimenting with the future of content creation. The best part is that you can create a talking avatar from a photo for free, starting right now.
What kind of avatar will you bring to life? We’d love to hear about your creations! Drop a comment below and share this guide with a friend who needs to see this. And don’t forget to browse our other articles for more cutting-edge AI tips and tricks!
Frequently Asked Questions (FAQ)
1. Is there a single tool that works as a completely free talking avatar creator?
While some all-in-one tools exist, they often have significant limitations in their free versions, such as heavy watermarks, low-quality video, or very short time limits. The 3-step method described in this article combines the strengths of the best free tools for each part of the process, resulting in a much higher quality final product without any cost.
2. Can I use this method to create a talking avatar from a photo of myself?
Absolutely! Instead of using Grok to generate an image in Step 1, you can simply use a high-quality, forward-facing photo of yourself. Then, follow Steps 2 and 3 exactly as described to animate your photo and make it talk. This is a great way to create a talking avatar from a photo for free.
3. Do I really need a VPN to use Dreamina for video generation?
For many users, yes. The video generation feature on Dreamina’s website appears to be geo-restricted, meaning it’s only available in certain countries. Using a VPN allows you to connect through a server in an eligible country, which should make the “Generate Video” option appear and function correctly.
4. What are the best prompts for creating a realistic AI avatar image?
The key is detail. Instead of just “a woman,” try “photorealistic headshot of a 25-year-old woman, soft natural lighting, looking directly at the camera, detailed skin texture, friendly expression, against a blurred office background.” The more specific details you provide about age, expression, lighting, clothing, and background, the better and more unique your result will be.